Everything you need to get started with Enhanced Onboarding, from preparing documents and building templates to sending your first packet. Start with the training series below for a step-by-step walkthrough.
Start the training series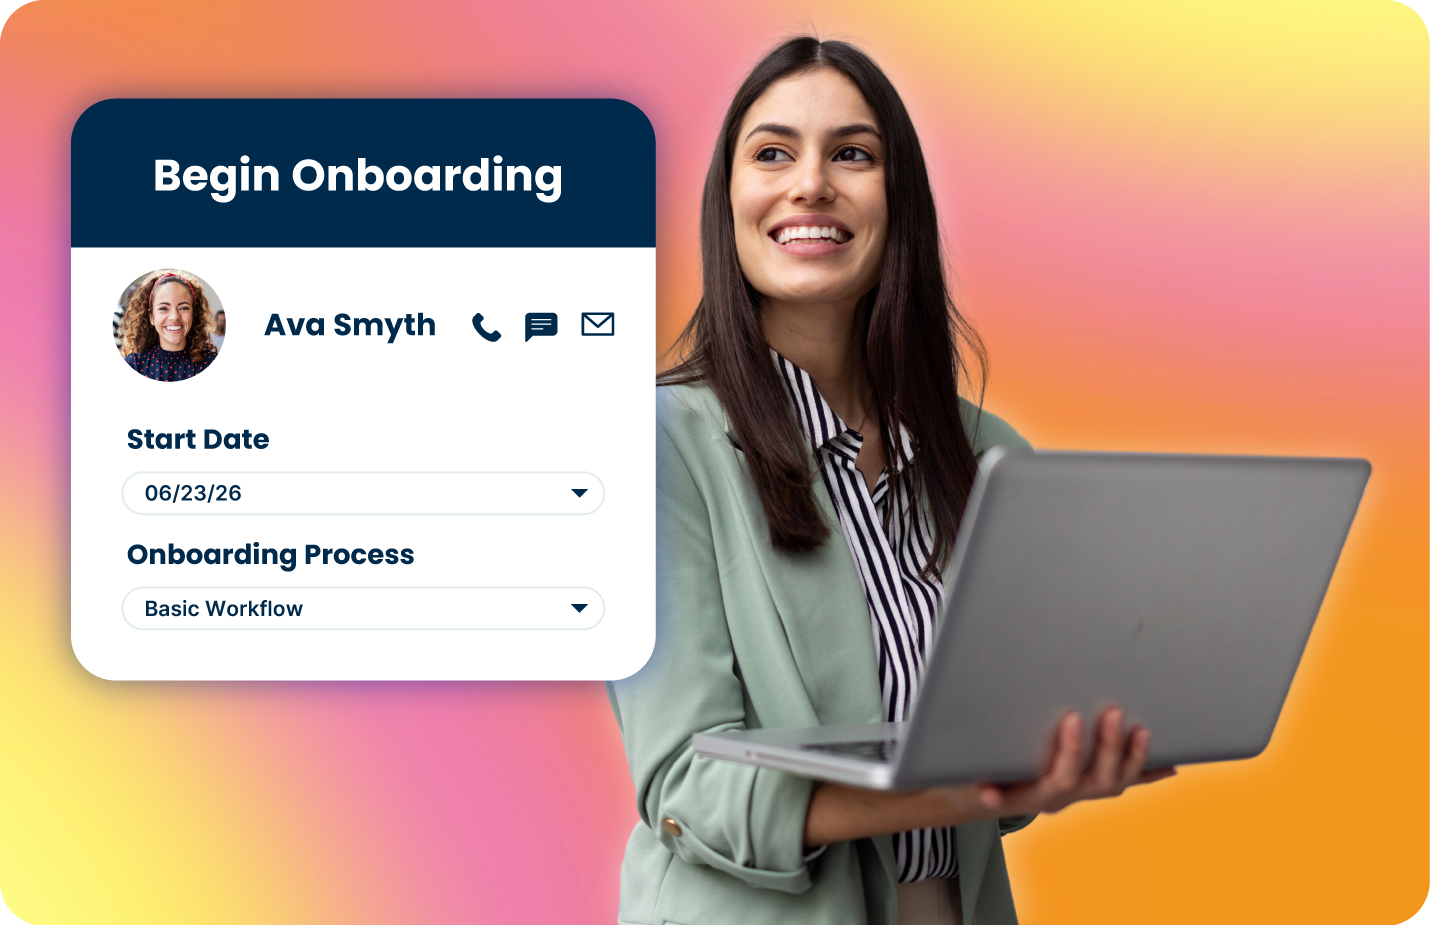
Explore each step, from configuring your account and creating templates to building packets and sending documents to new hires. Start with the overview, then follow the videos in order as you set up your process.
Follow these steps to prepare your documents, build templates and packets, and send your first onboarding materials. Set things up at the right account level to keep the process organized across locations.
Separate each form into its own document. This will give you the most flexibility when building out your onboarding packets.
If new hires need to submit a copy of a driver's license or professional license, your onboarding process needs a form where candidates can upload each one.
Use these files to create any document upload forms you need. Download the version you want, add the name of the document to be uploaded, then follow Step 2 to build the template in Hireology.
For a template that serves multiple, but not all, locations: build it once at the parent account, clone it at each location that needs it, then deactivate the parent copy. You save the rebuild at every location.
Follow the step-by-step walkthrough.
Add custom fields to a form and candidate profile information fills in automatically when you send it. That saves time for candidates and for your team. Select the wrench icon in the sidebar menu to see the available custom fields.
When a template looks right, activate it from the 3-dot menu. A template has to be active before you can add it to a packet or send it to a candidate.
Follow the step-by-step walkthrough.
When a packet looks right, activate it from the 3-dot menu. A packet has to be active before you can send it to a candidate.
Once you’ve marked a candidate as “Hired” in Hireology, they will automatically appear in the Enhanced Onboarding queue. Follow the step-by-step walkthrough.
See exactly what your new hire sees when the documents arrive.
Stuck on a template or a permission? Our team can walk through it with you.
Contact Support